PS3 and XBOX 360 Fight Stick Dual Mod
Tutorial #7
Here is a list of materials and tools needed in this tutorial:
- Madcatz XBOX 360 Arcade Fight Stick Tournament Edition
- Cthulhu PC/PS3 Board
- Toodles IMP Switch
- Soldering iron
- Wires
- Cable ties
- Wire cutter
- Screwdriver
Begin with opening the top cover of the fight stick with a screwdriver.


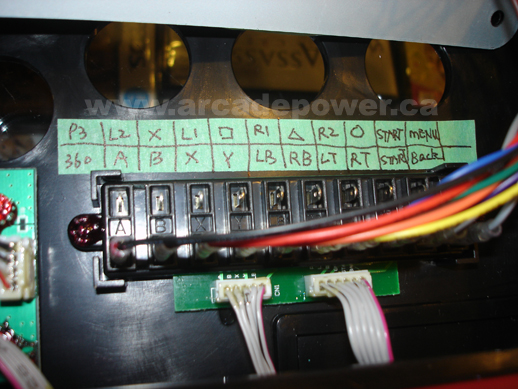
Remove all the ground wires from the sockets and buttons shown below. Mark down all the button configurations.
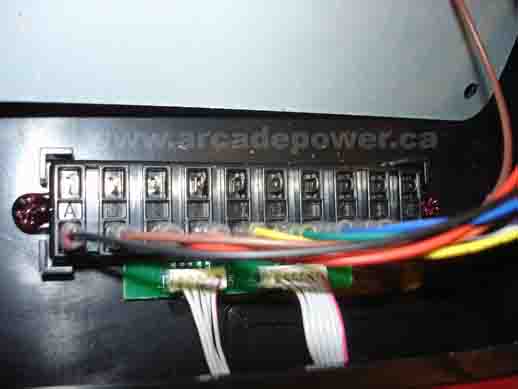
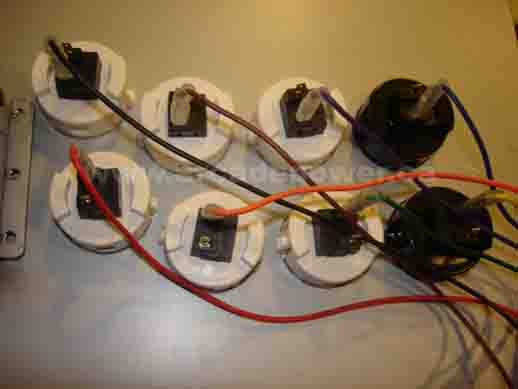

Rewire all the ground wires. The main purpose of this is to reduce the amount of wires and make it more neat.


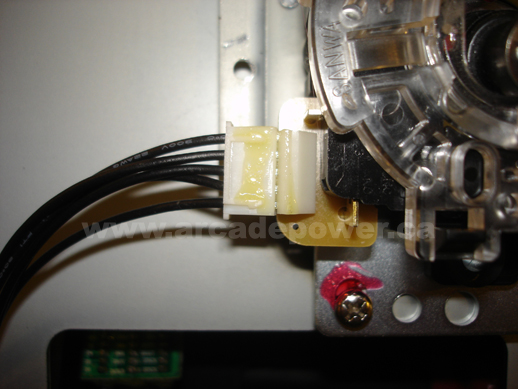
Next we will need to connect an extra wire to each of the sockets for the buttons (A, B, X, Y, LB, RB, LT, RT, Start, Back) as shown below.


Similarly, connect an extra wire to the joystick socket (up, down, left, right).


We will now need to glue several pieces of wood to make a base for the Cthulhu and IMP boards.


Remove the USB cable from the Madcatz fight stick and connect the cable to the IMP board.


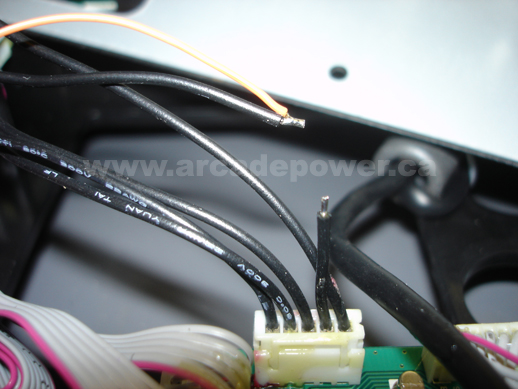
Connect four wires onto the Madcatz fight stick's USB port for later use.


First hook up the extra wires for the joystick (up, down, left, right) to the Cthulhu board. Do the same thing for the button wires (A, B, X, Y, LB, RB, LT, RT, Start, Back) onto the Cthulhu board. Use cable ties to group the joystick and button wires together to make it look neat.


Finally, join the positive and negative wires of the Cthulhu board with the positive and negative wires of the Madcatz fight stick. Then, connect them to the IMP board. Hook up the USB D+ and D- wires from the Madcatz fight stick to the IMP board's 1D+ and 1D-. Then hook up the USB D+ and D- wires from the Cthulhu board to the IMP board's 2D+ and 2D-. This is because I will set the Madcatz as first priority.


Finished! Your connections should look similar to the pictures below. Put back the cover and your Madcatz XBOX 360 Fight Stick is now dual compatible with the PS3!


