Make Your Own Joystick Series
Tutorial #2: Making the Front Panel
Now that you have all the materials, tools and your blueprint ready, it's time to start building the front panel of your joystick.
Cut your wooden board according to your desired design and dimensions of your front panel using the table saw. We have used the design and dimensions of our Aegis joystick in this tutorial.


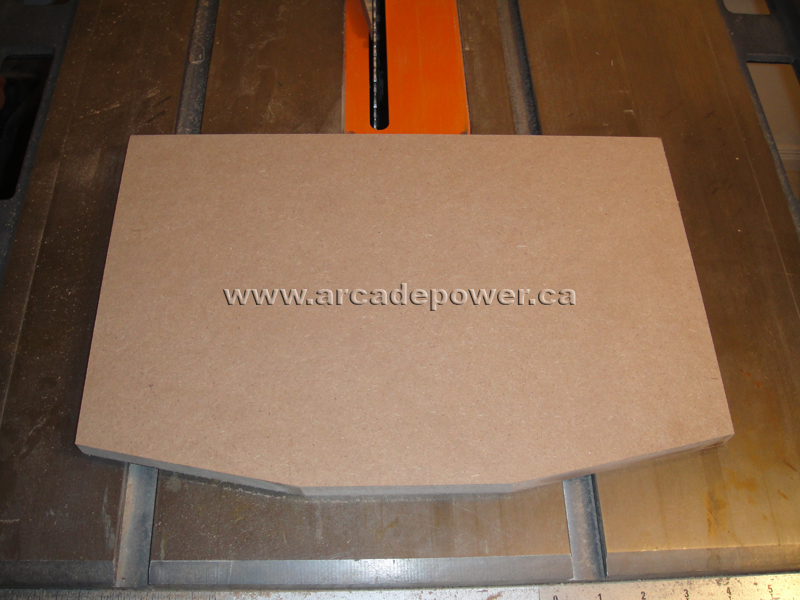
Note that the edges of the board is sharp. To curve it out, simply take a round object such as a toonie and draw out the curves on the edges. Then, use the edge belt sander to sand the board and make it smooth and curve.


Since our front panel is larger than our box, we would have to paint the bottom of the panel black, as the edges would stick out.

The next part is where your blueprint comes into play. Attach your blueprint onto your front panel with tape, and hammer the center punch onto the center point of the buttons and joystick.


Attach the 1/8" drill bit to the drill press, and drill through the holes provided by the center punch. These small holes will assist you in the next step where you drill the button and joystick holes of your joystick.

Attach the 30mm forstner bit to the drill press, and drill the holes for the buttons and joystick.


Turn over to the back of the front panel. Attach the 1.75" forstner bit to the drill press and drill halfway through the front panel. This is to make room for the shape of the buttons.


Attach the joystick and the corresponding screws onto the front panel and trace the shape on the bottom of the front panel. Use the hand router to trim room for the bottom of the joystick.


You have finished making your front panel! For those that would like to decorate your joystick by laminating a picture onto your front panel, read on. Otherwise, click here to make your joystick box.
Print out the picture that you would like to laminate onto your joystick. The dimensions of this picture should be a bit larger than the size of your front panel to account for errors. The picture that we are going to use is provided by one of our customers. Please note that we do not own this picture. Use the laminator to attach either a polycarbonate or glossy cover onto the picture. Cut out any unnecessary white edges of the picture.


Now, use the laminator to attach the picture onto the front panel.


Finally, use a cutter and cut the holes for the joystick and buttons.

Your newly laminated front panel is now done! Click here to continue making your joystick box.