Make Your Own Joystick Series
Tutorial #3: Making the Joystick Box
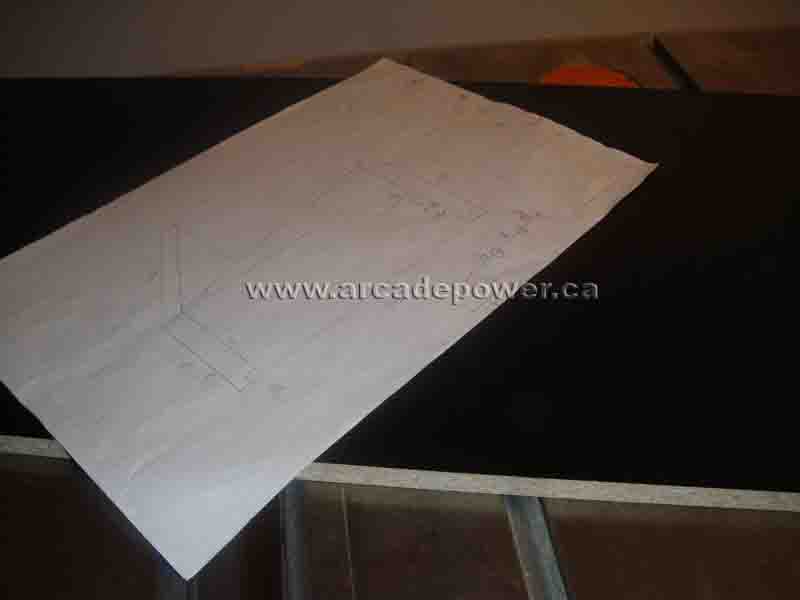
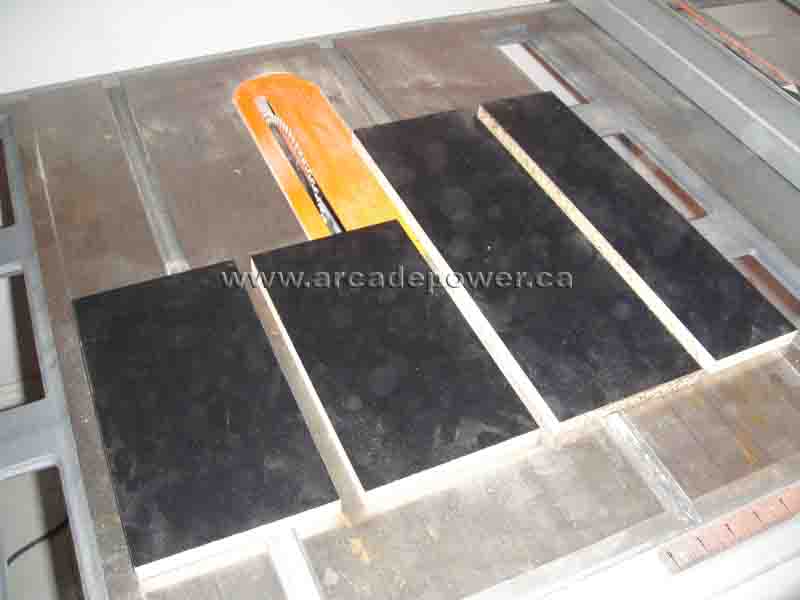
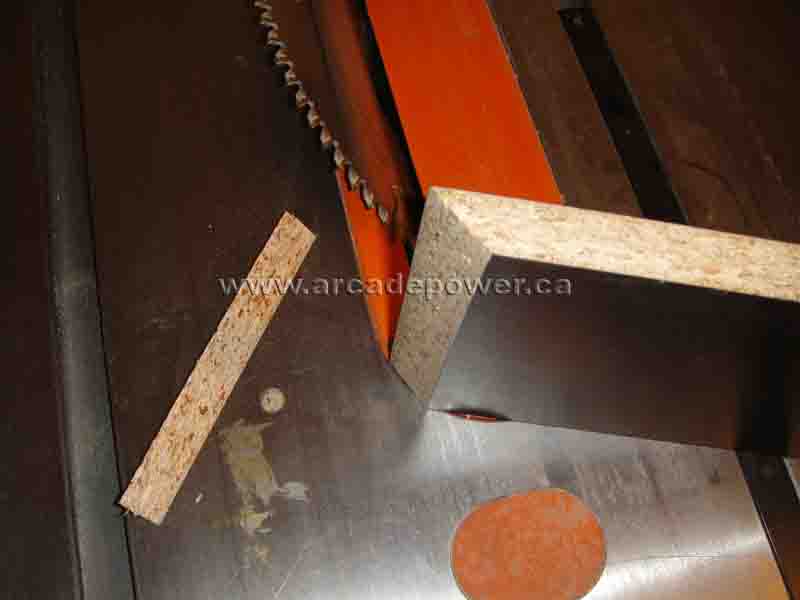
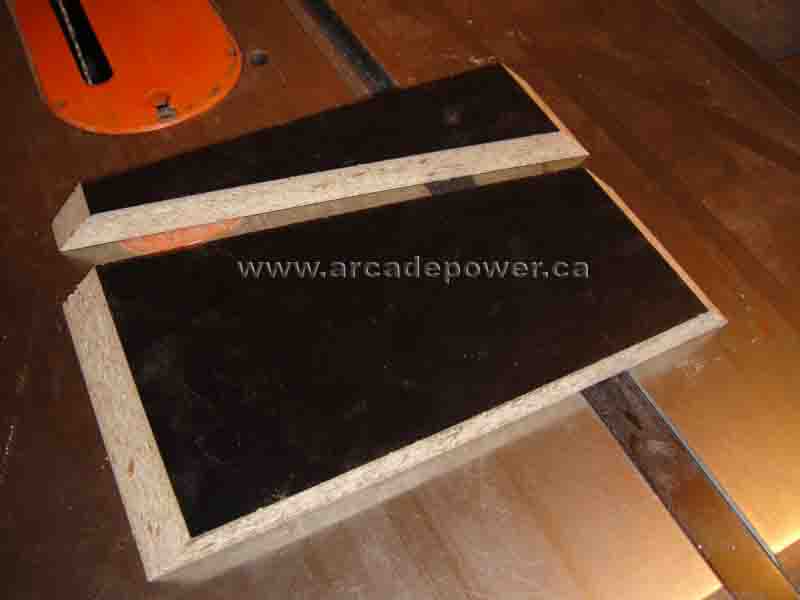
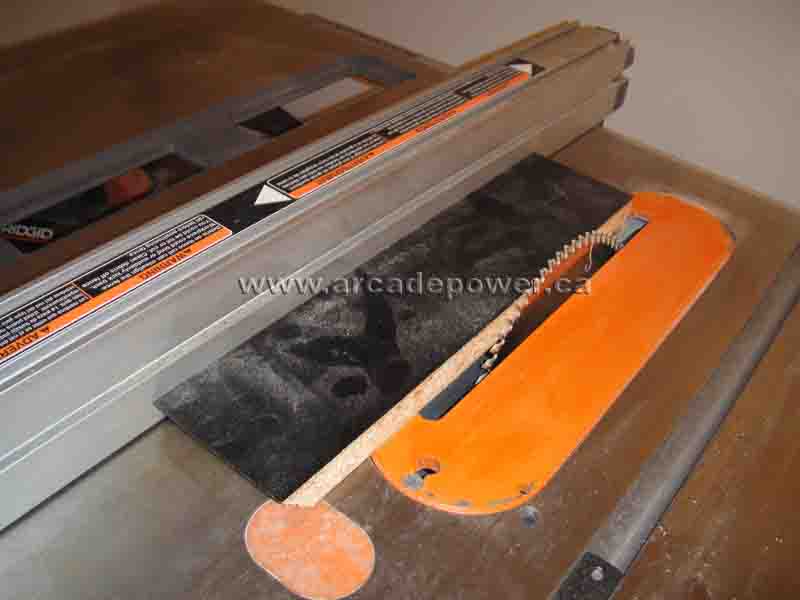
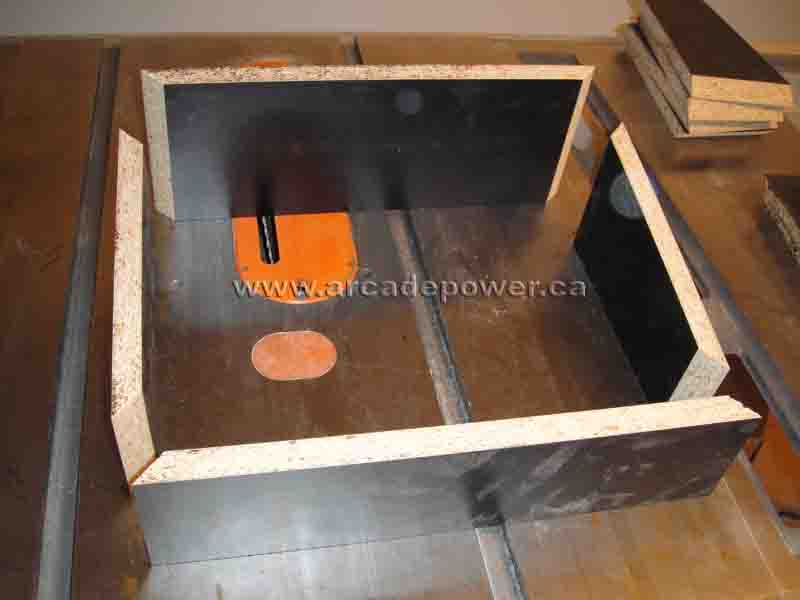
We will now build the base of our joystick box. We will use Melamine wood to build the base, as this type of wood have a black coating on both surfaces. Plan out the dimensions and the amount of wood you need and use the table saw to cut accordingly.
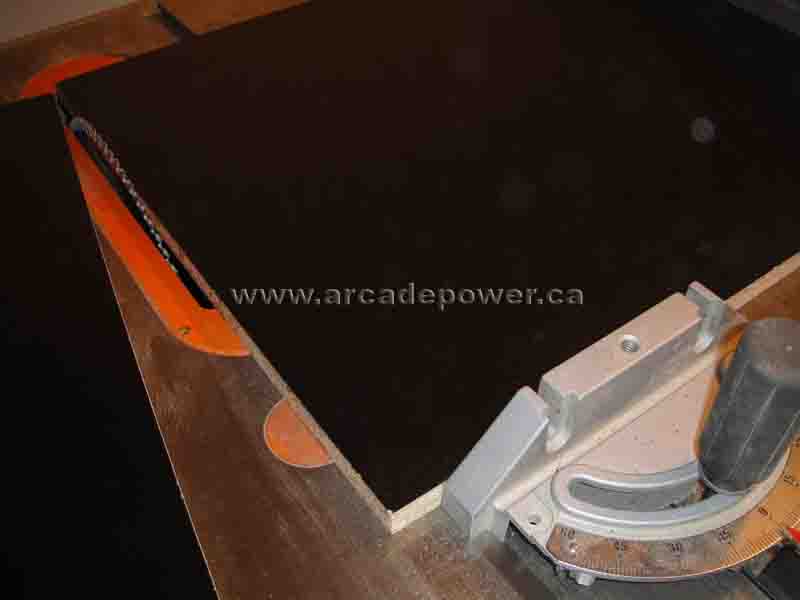
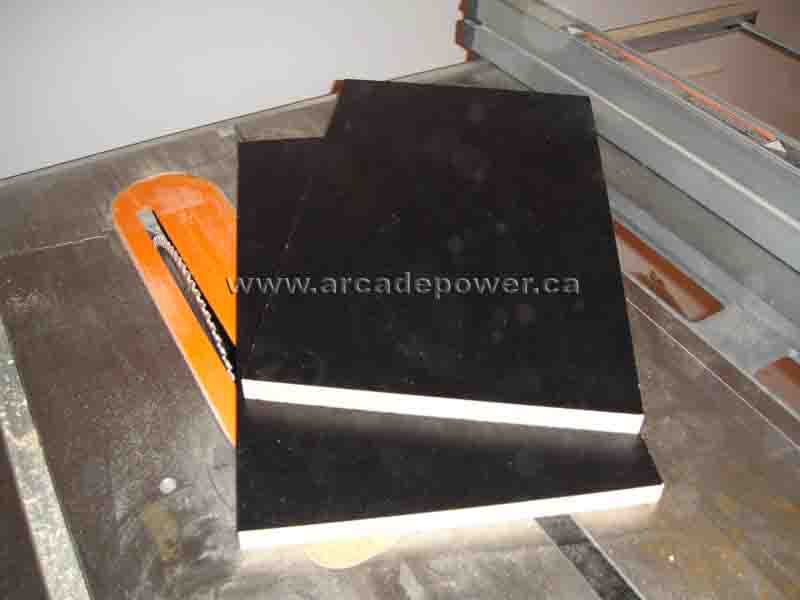
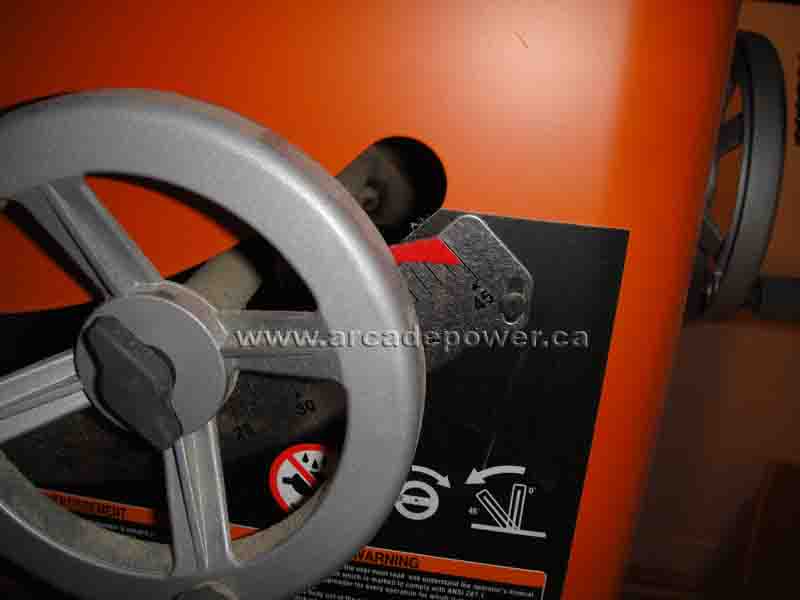
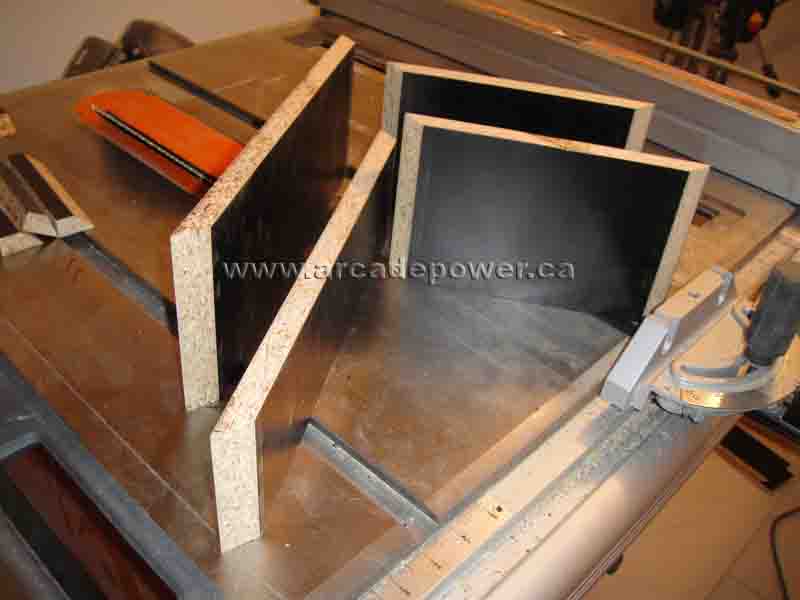
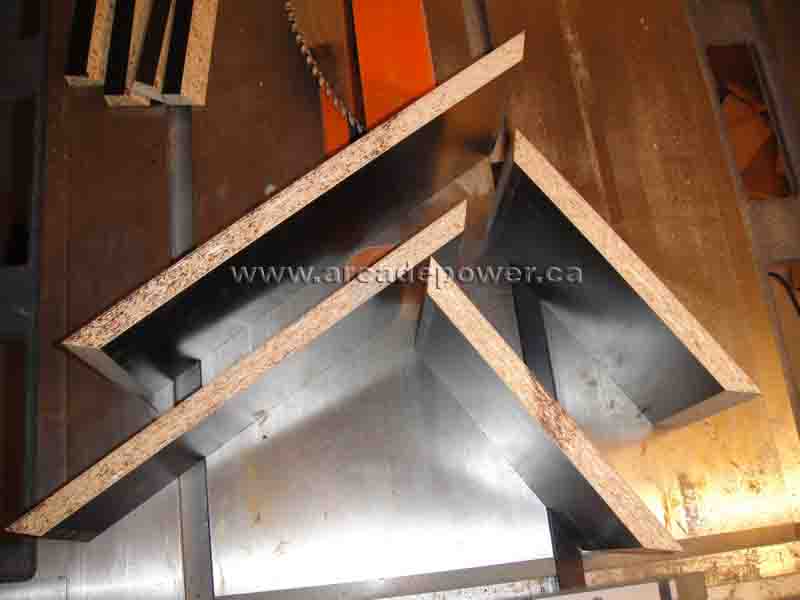
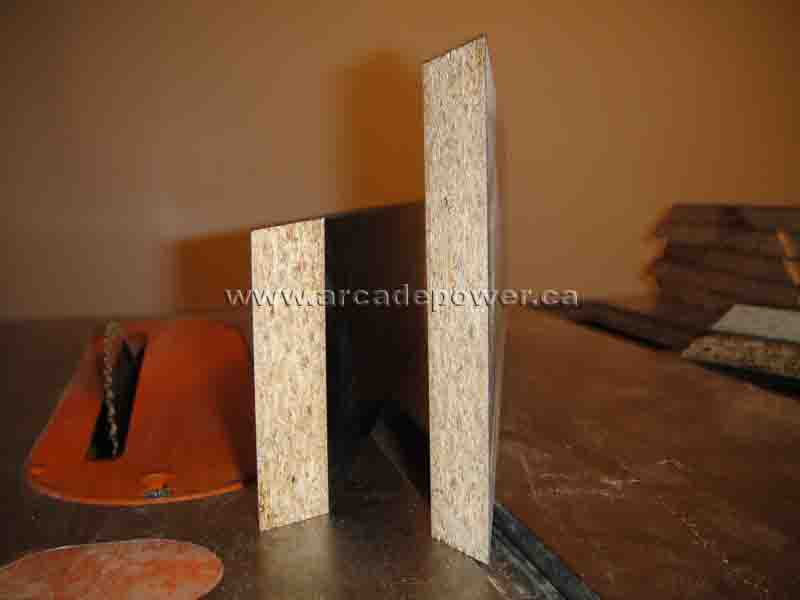
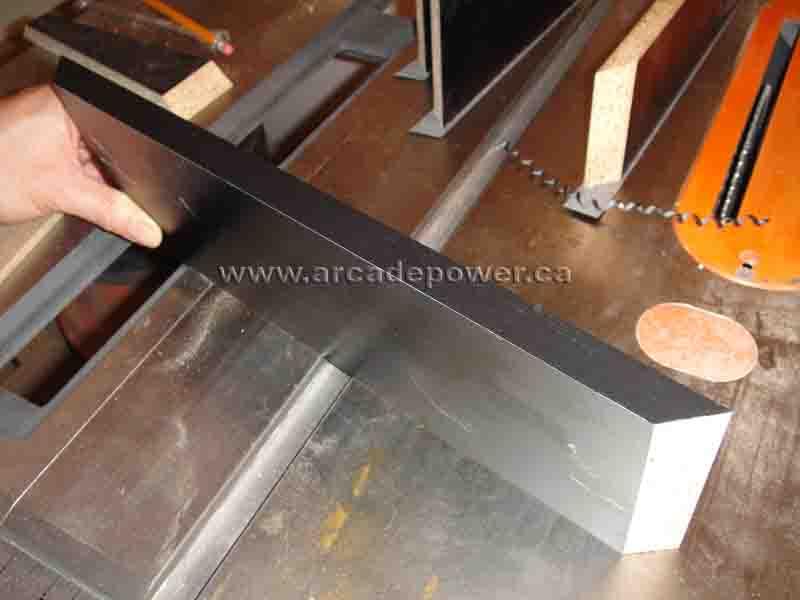
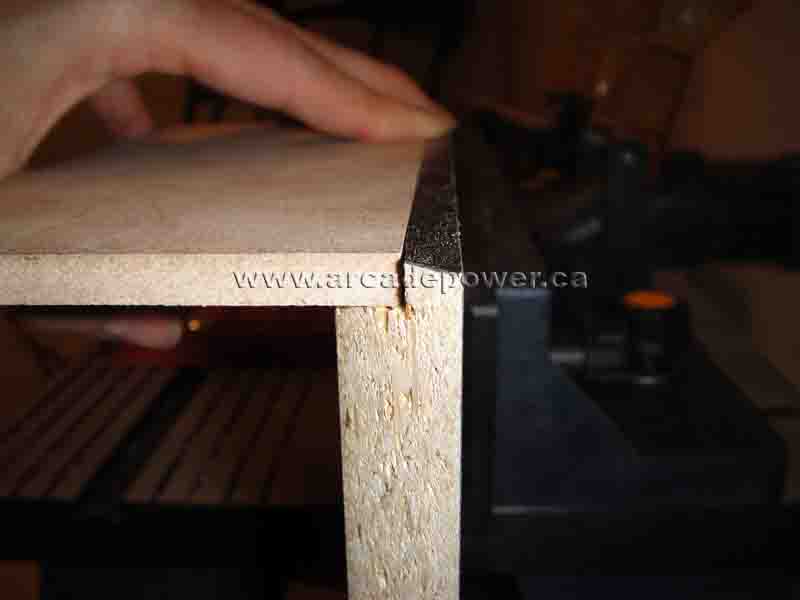
In order to make the pieces attach to each other, cut the edges of your wood pieces at a 45 degree angle.
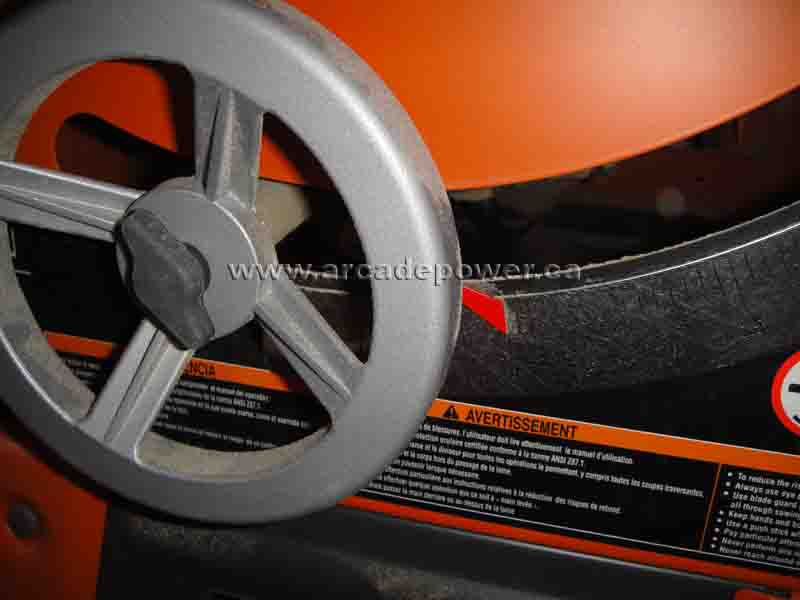
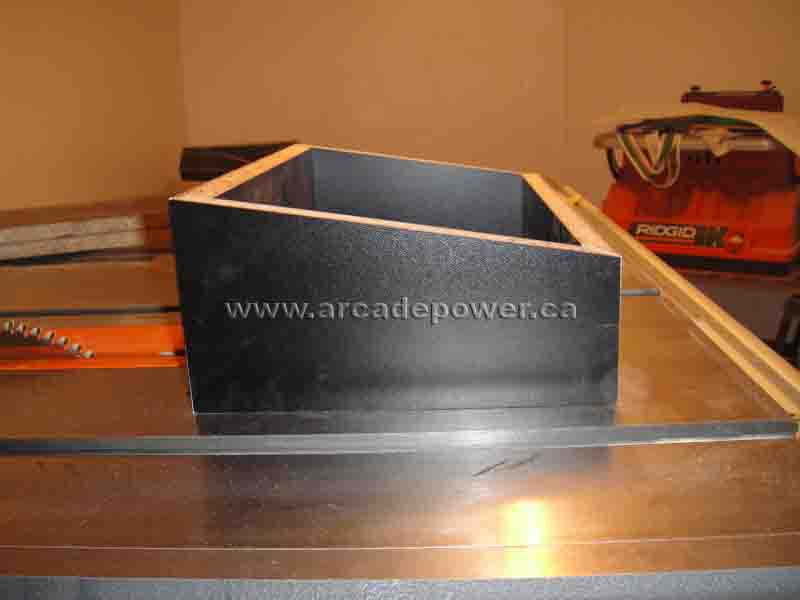
The joystick that we are building will be slanted towards the user at a 10 degree angle. This provides the user a better positioning for their hands when they are playing.
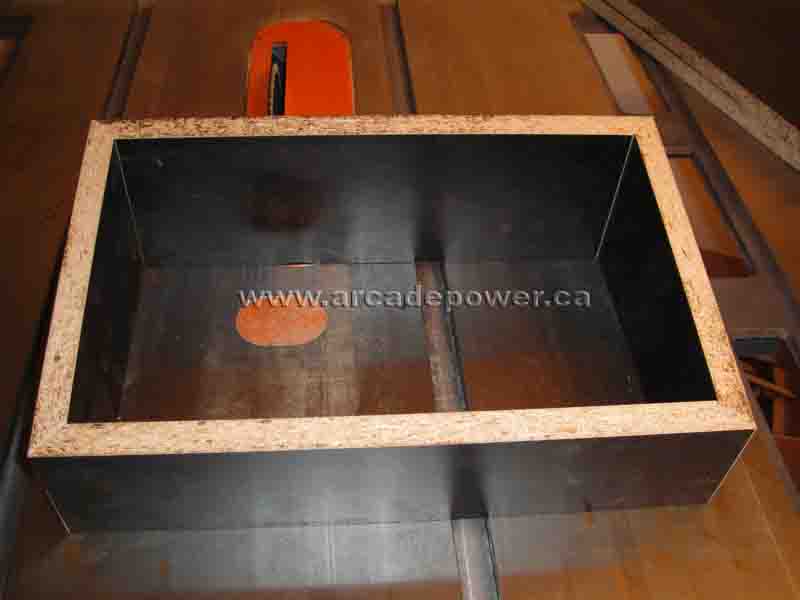
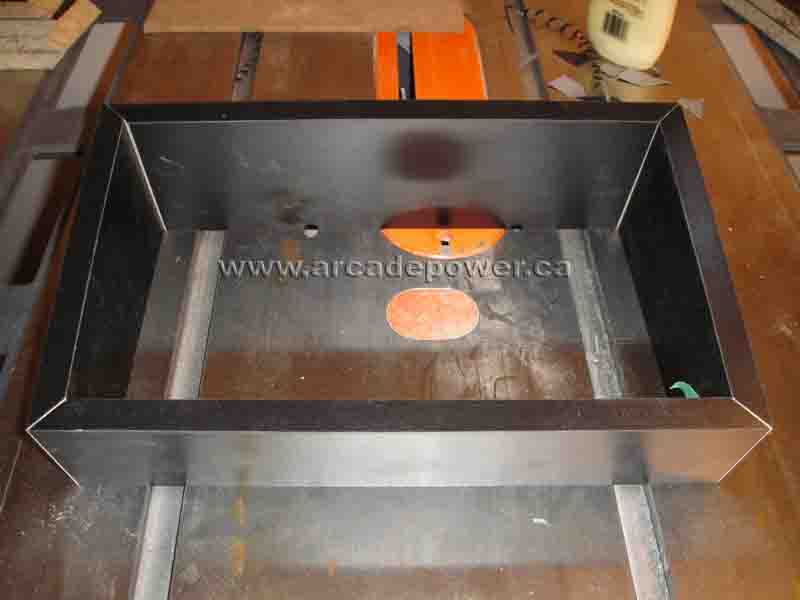
Once you have all your pieces, it's time to assemble the base.
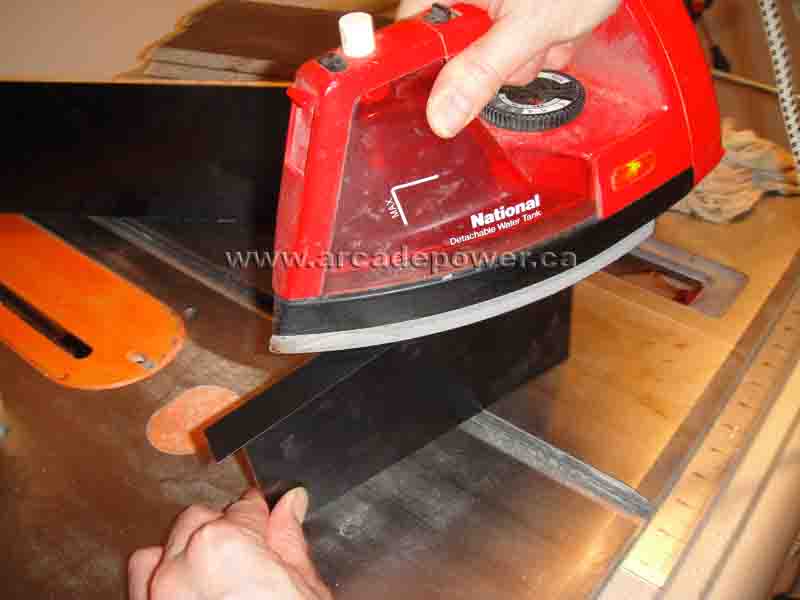
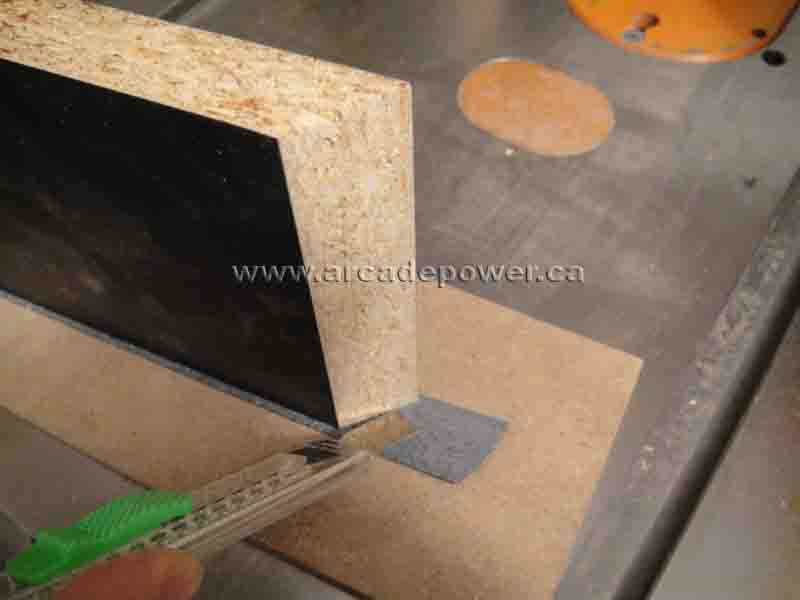
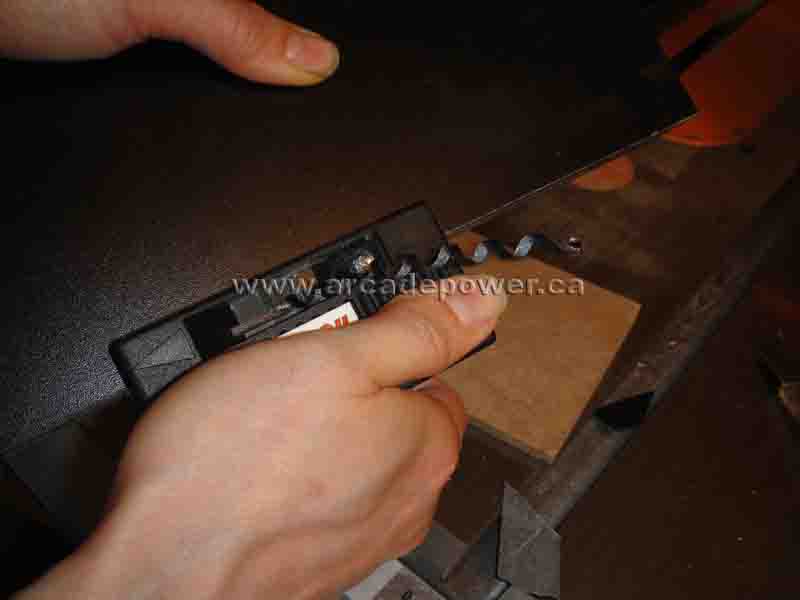
Cover the edges of the base with edge bands by using an iron. Cut any excess edge bands out, and trim the sides with the edge trimmer.
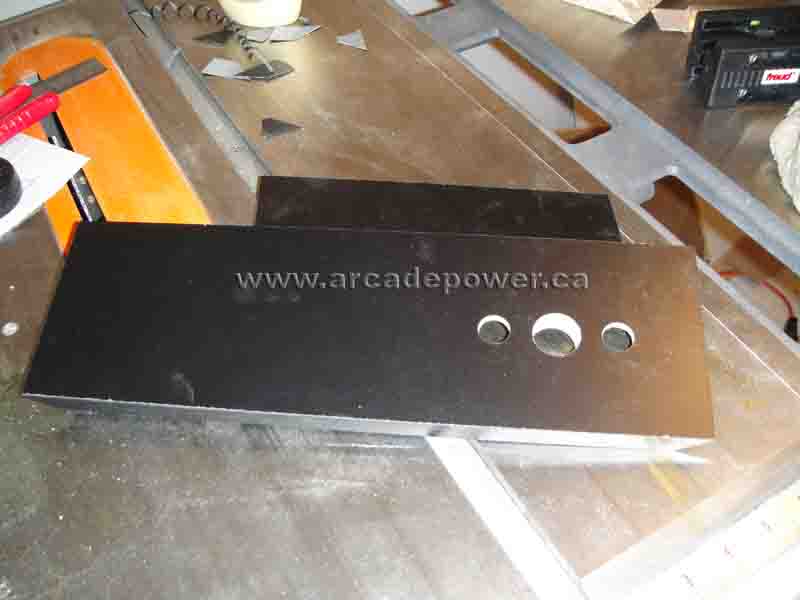
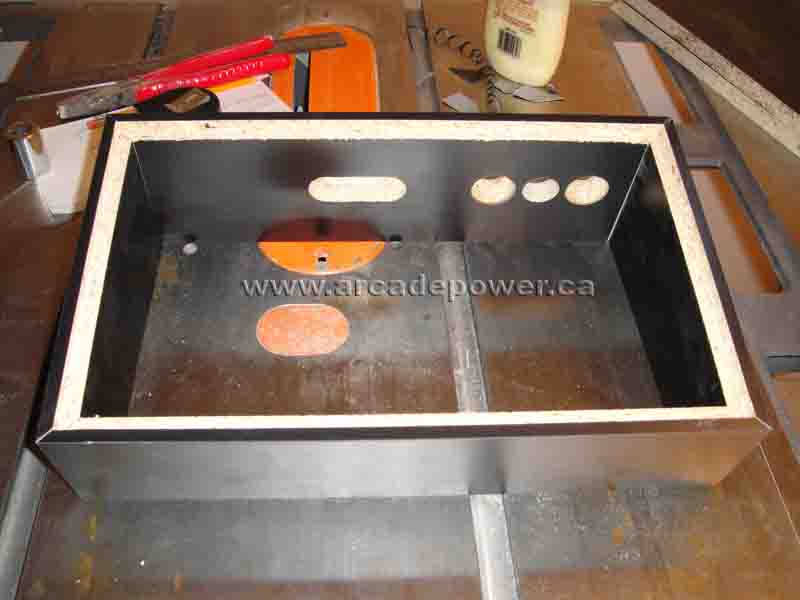
Now we're going to drill holes for the start and select buttons. We decided the button layout for that will be at the back.
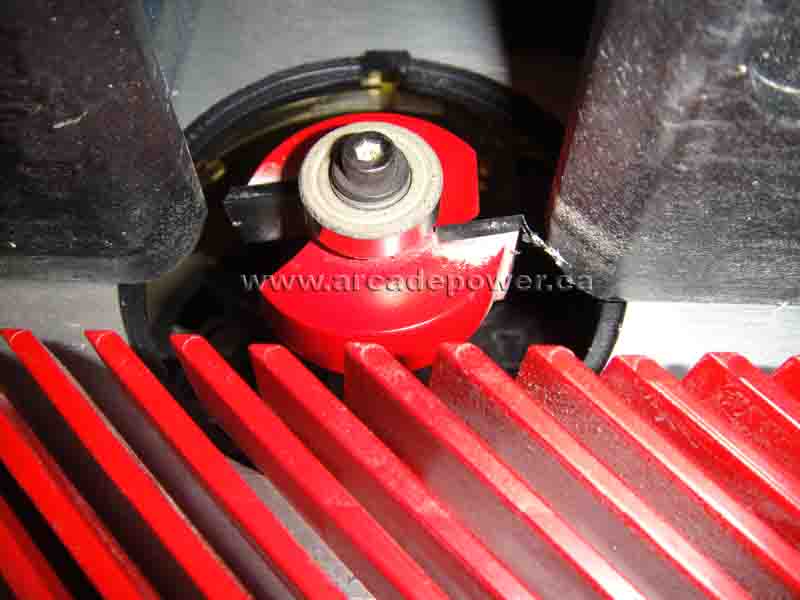
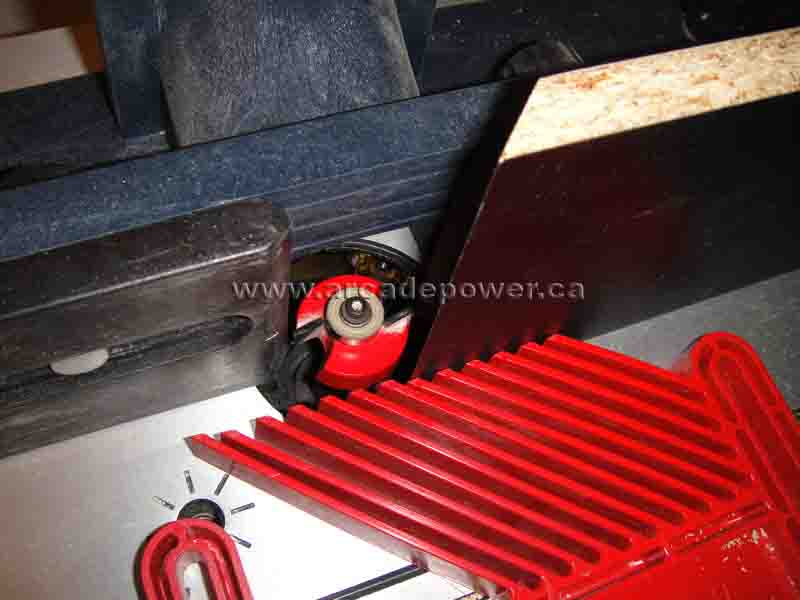
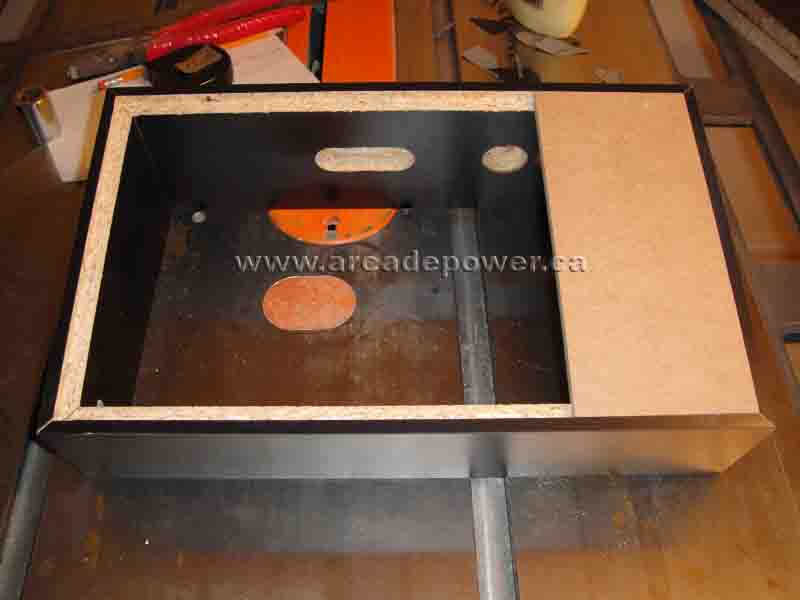
Use the table router to make room for the bottom board.
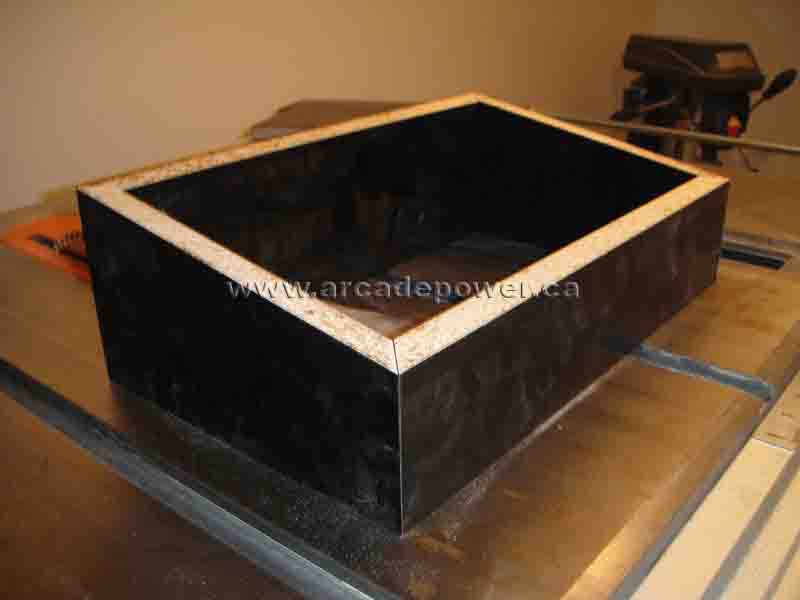
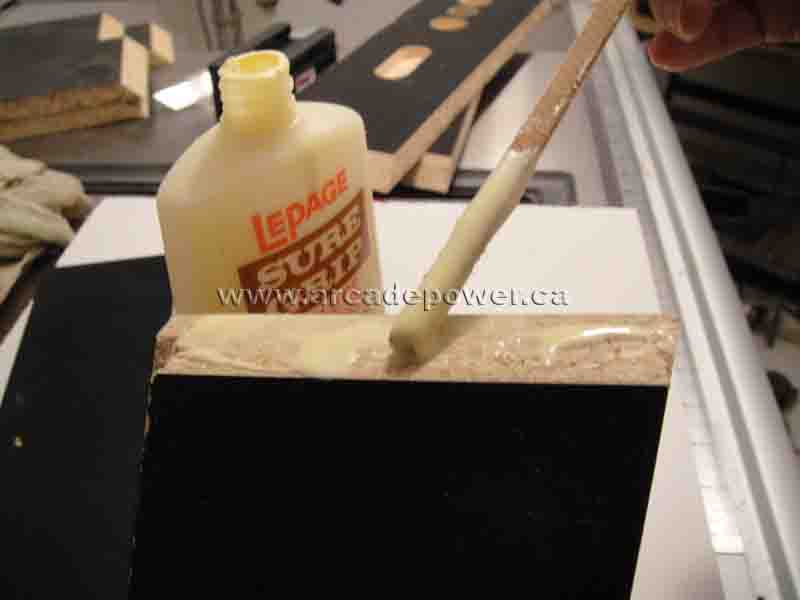
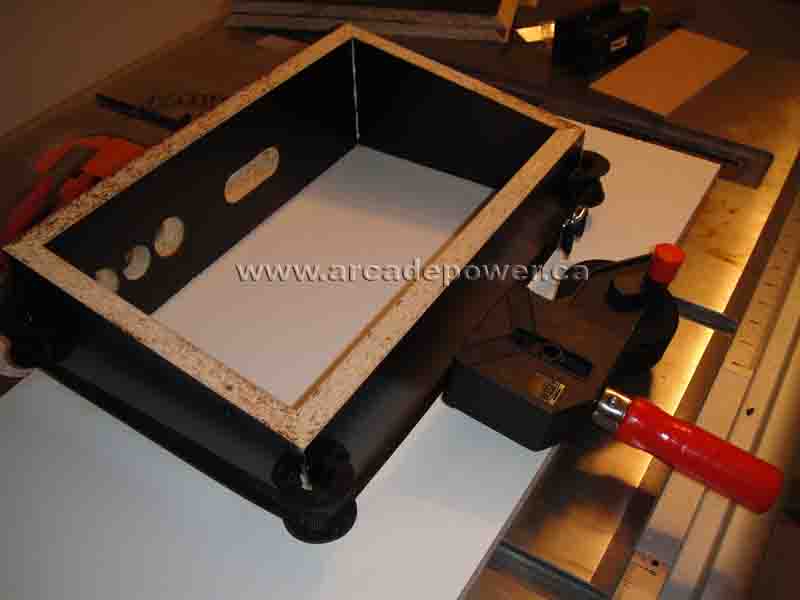
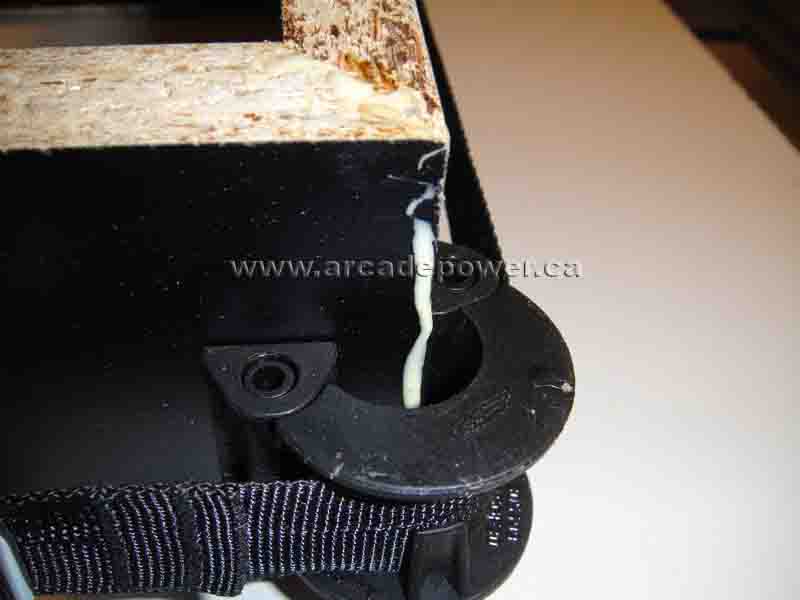
We are almost done! To assemble your joystick box, glue the edges together and use the strap clamp to help hold the pieces in place. You should put more glue than you really need on the edges. The purpose of the strap clamp is to squeeze the excess glue out, making sure the glue on the edges are evenly spread out. Leave your joystick box overnight for the glue to dry. Don't worry about the excess glue--you can easily wipe it off with a damp cloth.
When the glue is finally dried, click here to put the front panel and box together.
