Make Your Own Joystick Series
Tutorial #4: Putting it all together
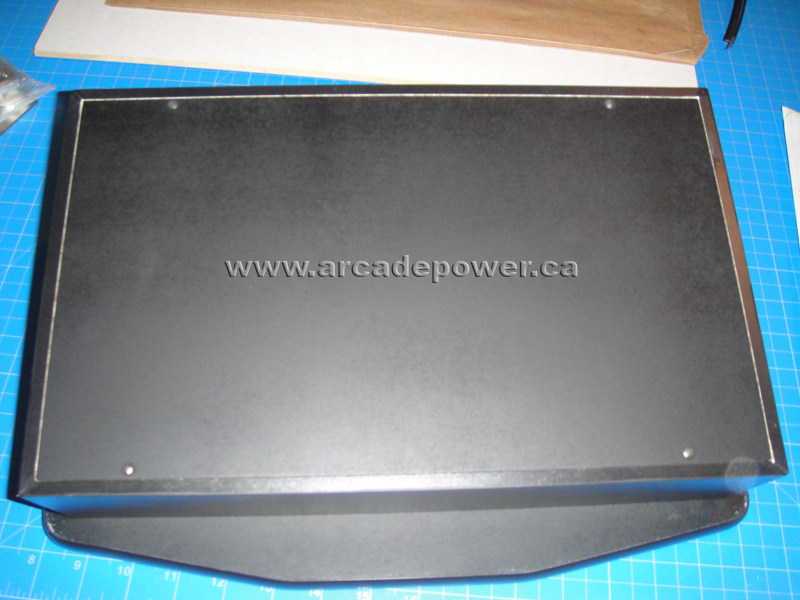
It's now time to start putting your front panel and the box together. First of all, you should cover the edge of your front panel with T-moldings. Use the router table to rout space to fit the T-molding.


Cut the ends of your T-molding to make sure both ends are straight. Use your rubber mallet to hammer the t-molding onto the edge of your front panel. The trick to get around the corners is to snip out the inside. Cut any excess t-moldings at the end and hammer down the loose end.


Cut a thin MDF wooden board just so that it can cover underneaf your joystick box. Paint your board black to make it match the colour of the box.


Now we will attach the front panel to the box itself. Use the wooden screws and furniture braces to mount the front panel onto the box.

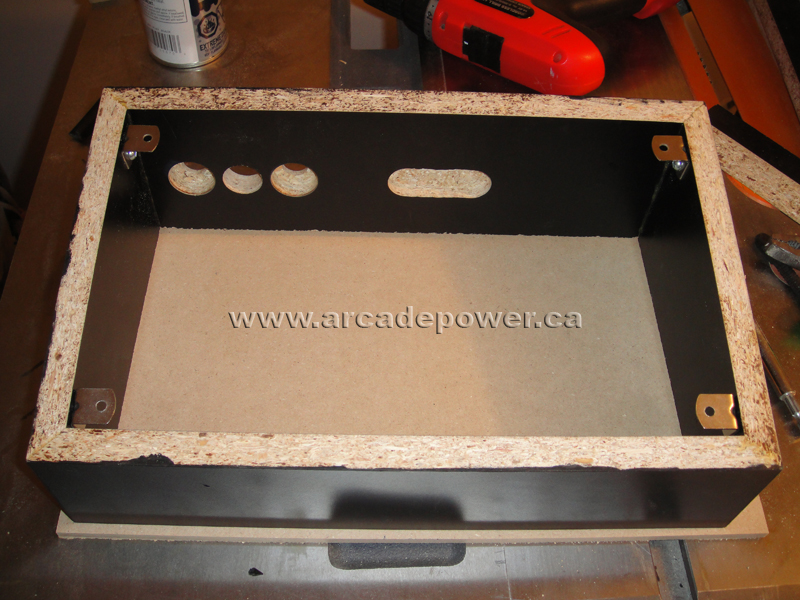

The box is finally complete. Now we shall install the joystick and buttons into the box. For this part of the tutorial, we will install a Happ joystick and Happ buttons.
Give yourself a pat on the back, your joystick box is almost complete! All that's left is to connect the wires inside.
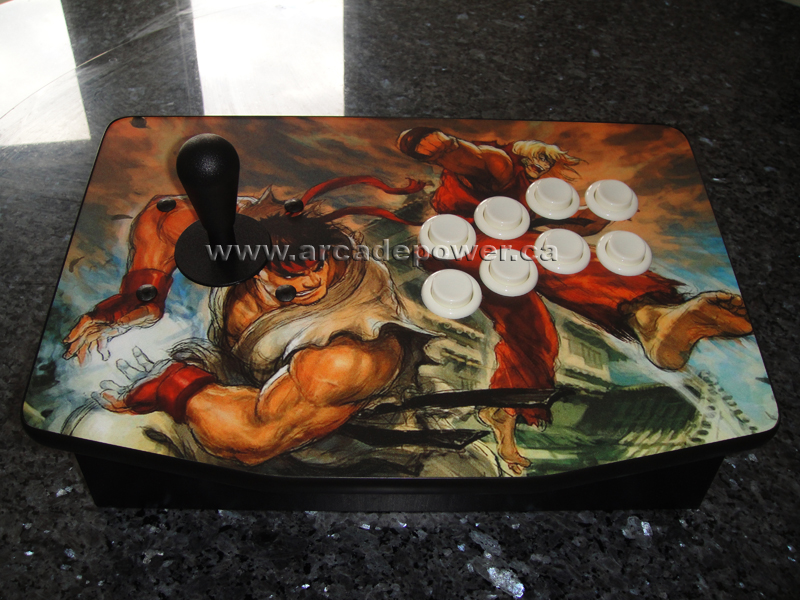
In the next part of the tutorial, we will demonstrate how to connect the wires for the joystick and buttons. We will use a joystick and buttons from Sanwa instead of Happ.
Click here to connect the wires.